ChecklistBefore you get started, prep your work station with the following:- Bare substrate & printed transfer - Heat tape, cleaning cloth & all-purpose cleaner- Heat gloves, scissors & blowout paperDownload & print our checklist and instructions below!
Step 1First, turn on your heat press and set the temperature to 385°F / 195°C (temperatures based on prints made with small desktop sublimation printers). Strong pressure is recommended (settings may vary based on equipment).Add a sheet of protection paper (blowout paper) on the bottom plate of the heat press.
Step 2Take your blank and peel the protection film from the bare coaster (coasters without cork on the back do not generally have film).
Clean the surface of the coaster with a cleaning cloth and some all-purpose cleaning fluid.
Step 3Clean the surface with all-purpose cleaner, a cloth, and compressed air.
Step 4Put your printed transfer face-up on a flat table. Next, put your blank gently face-down on the printed transfer.Line up and center the coaster on the printed transfer and add heat tape on both sides of the item.
Step 5Add everything in the center of the bottom plate of the heat press. Make sure the item receiving the transfer is facing up and the printed transfer is facing down on top of the receiving item.Next, set the correct temperature & set the time to 1:00-1:10 seconds and close the heat press so the sublimation process starts.
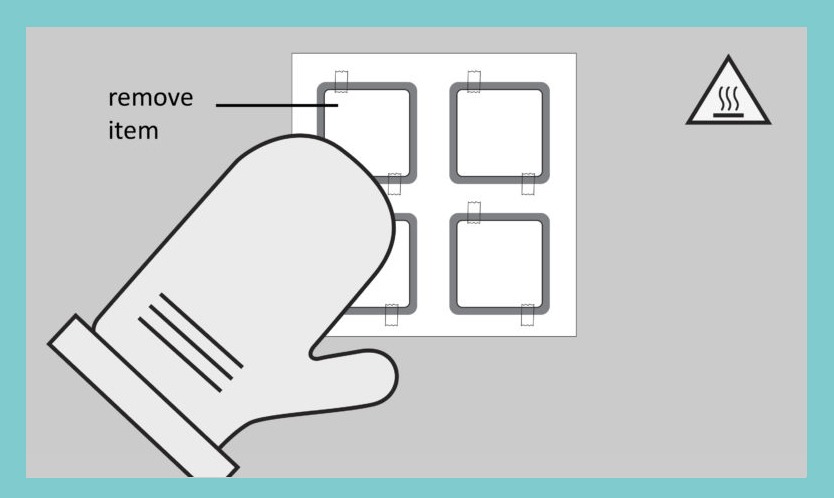
Step 6When the sublimation process stops, remove the transfer paper immediately and allow the product to cool down. Attention: the item will be hot, so wear protective heat gloves. (Panel shown here, but will be the same process for the dog tag)