Creating an Engraving Fixture in CorelDRAW | Resources
With the creation of the template behind us, we can move ahead towards making the fixture to fit inside the laser. By using a fixture to position the product to be engraved in the same location and having a corresponding template layout, you can increase productivity of your laser system by assuring that all the elements are in the correct position for first time engraving results. Using fixtures and templates can drastically increase the productivity of a laser system by accurately being able to position several pieces on the engraving table and engraving them all at once.
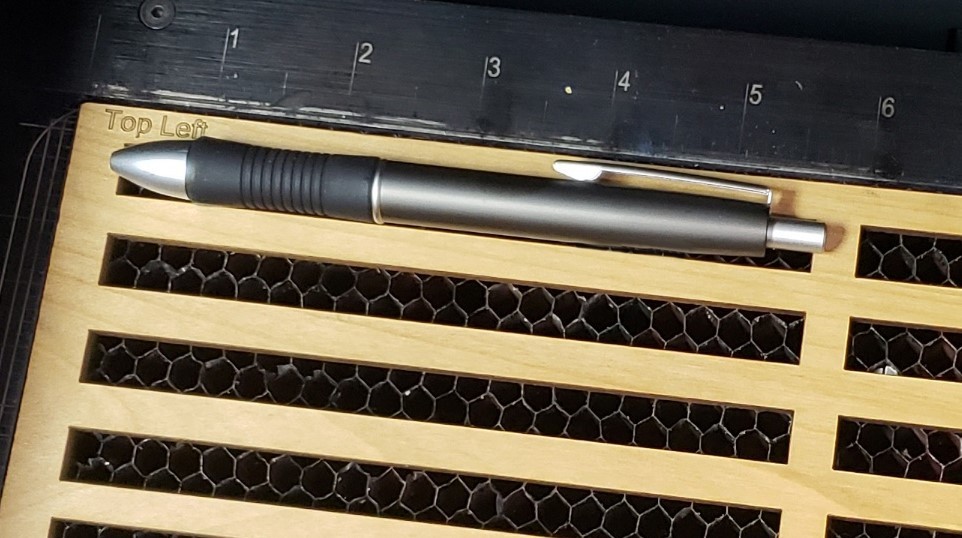
Pen Fixture made from Alderwood Sheet
Creating an Engraving Fixture in CorelDRAW
Step 1:
Launch CorelDraw.
Step 2:
Open the Template File you just created. If you have not created a template yet, please go back and visit the "Creating Templates in CorelDRAW" article and follow the steps.
Step 3:
Place the material in the laser that will become the fixture. Make sure it is pushed up against the rulers in the engraving table - placement is important each time you use this fixture in the future.
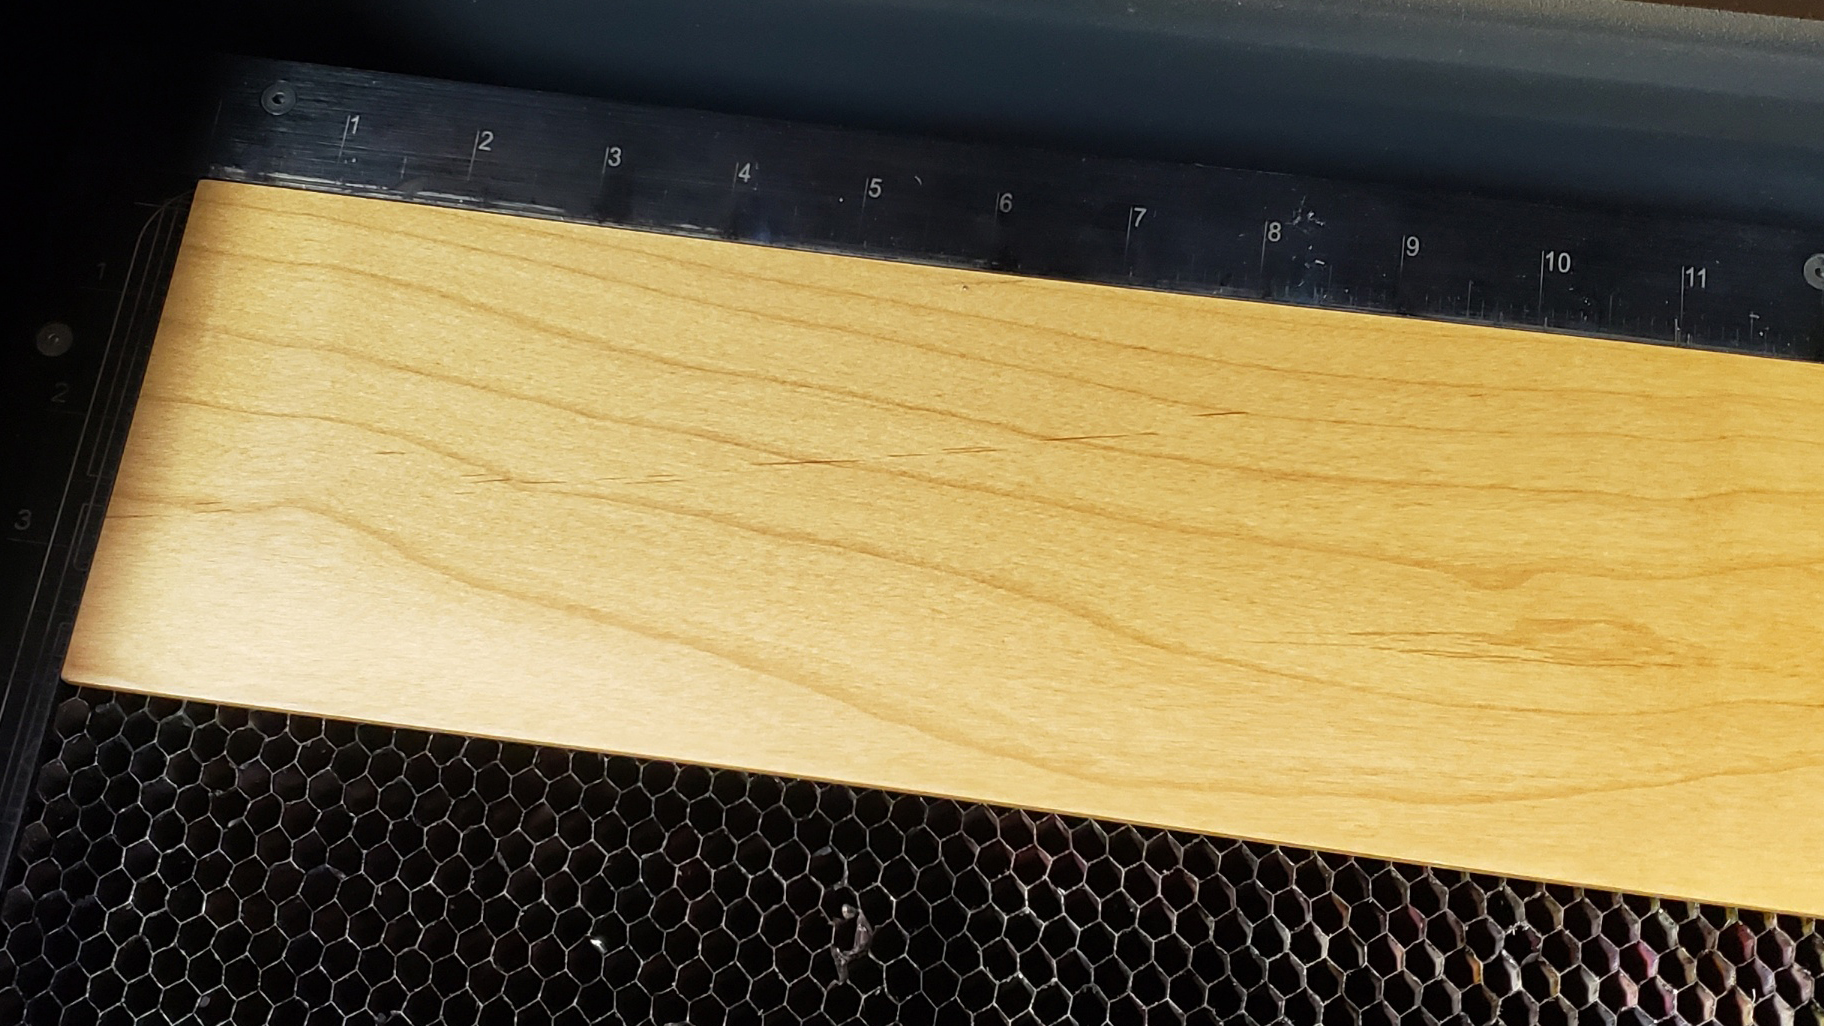
Fixture material placed in laser bed
Somehow mark which corner is the upper left corner so that the fixture is placed inside the laser in the exact same manner each time. In this case, we are going to engrave "Top Left" into the wood, again making sure our layout will match up each and every time.
Step 4:
We must make some changes to our template. We need to tell the computer to only send the vector lines to be engraved, thus creating our fixture. We are not ready to send over the raster engraving data yet.
Step 5:
We are now ready to send this print job to your engraver! Plastic, wood and acrylic are ideal materials for fixtures. Each laser engraver is different as is each material. So refer to your laser and your material for power and speed settings. Once your material is cut, pop out the cut wood pieces from the fixture to create the open spaces for the pens.
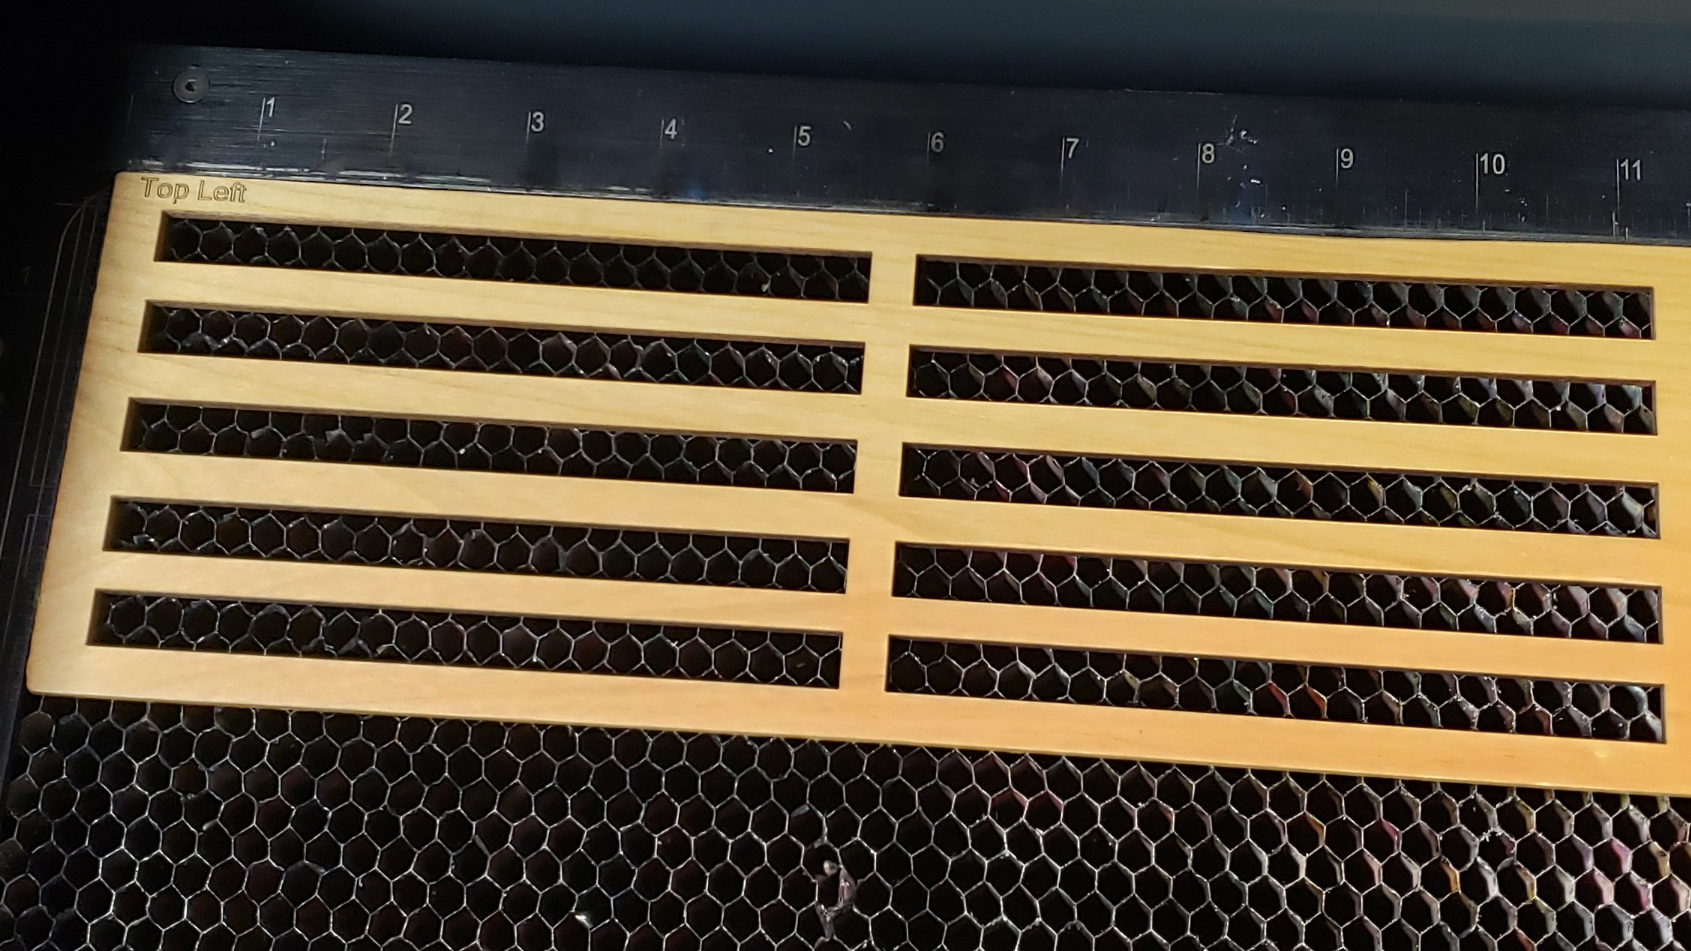
Remove cut pieces to create open spaces to hold your pens for engraving.
Step 6:
Our fixture is now ready to receive the blank pen holders. Position the pen holders in the open rectangles of the fixture.
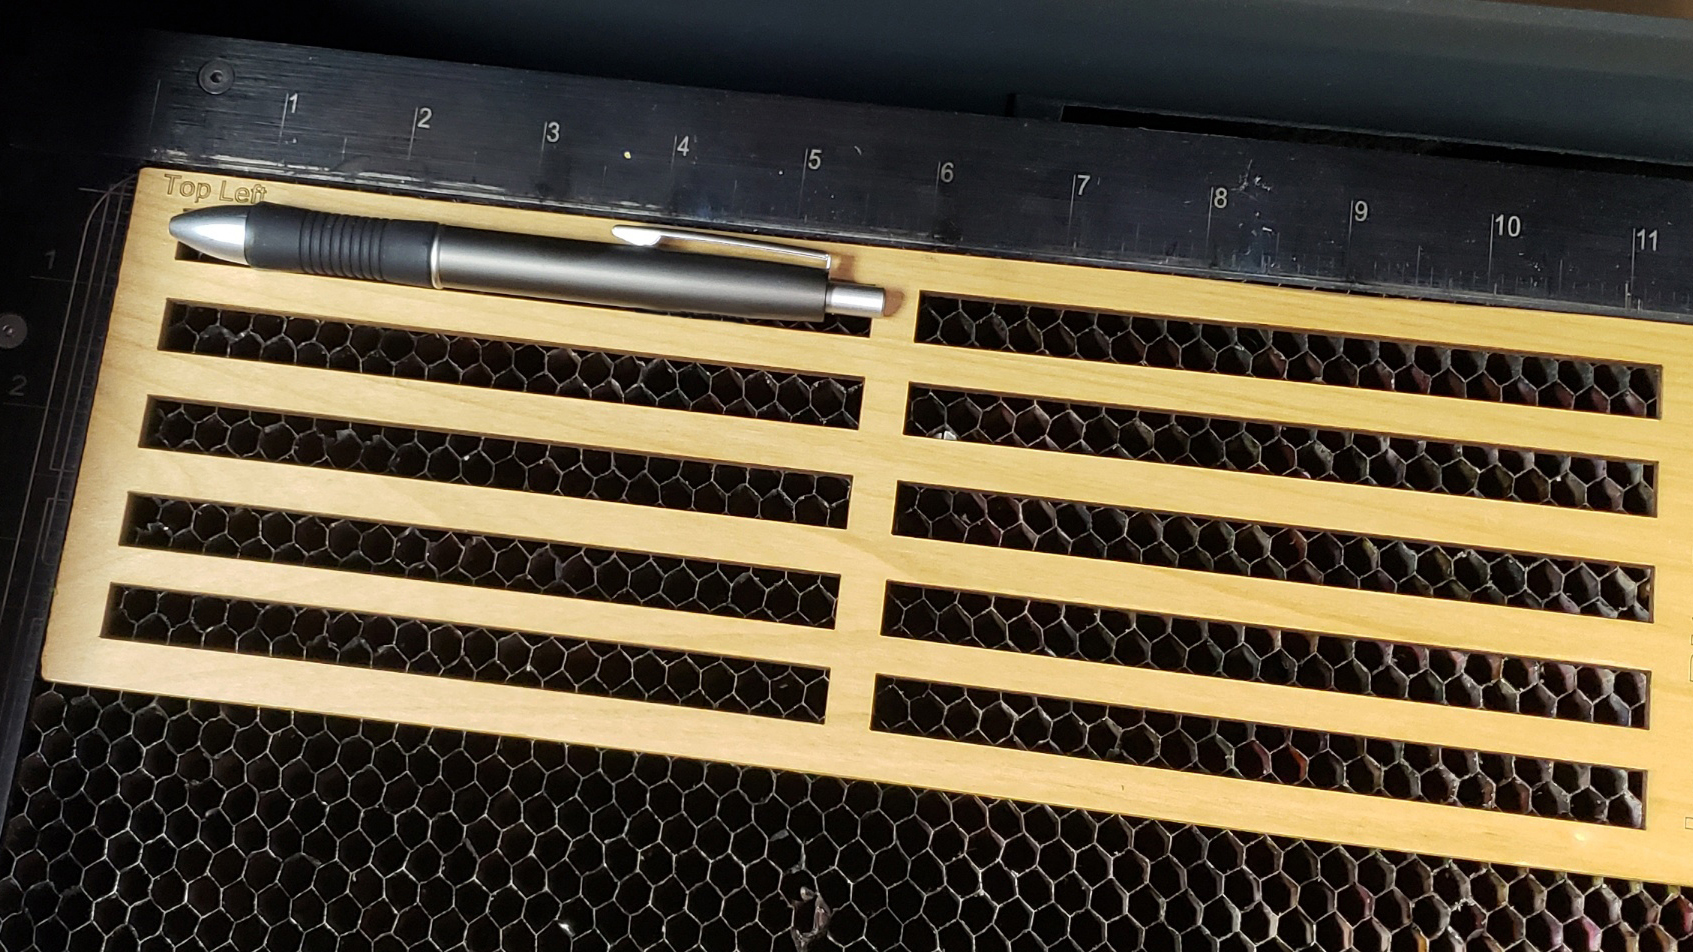
Position the pen holders in the open rectangles of the fixture.
Step 7:
To ensure our fixture will always match our template, we need to lock our template in the Object Manager. To do this, you will need to select your vector cut lines you just used to create your fixture. You can select these vector lines one by one or you can go into the Object Manager and select everything on that layer. Once selected, click on the padlock to lock those objects. This will grey them out within the Object Manager and allow everything else to be edited, leaving your vector cut fixture lines locked and secure.
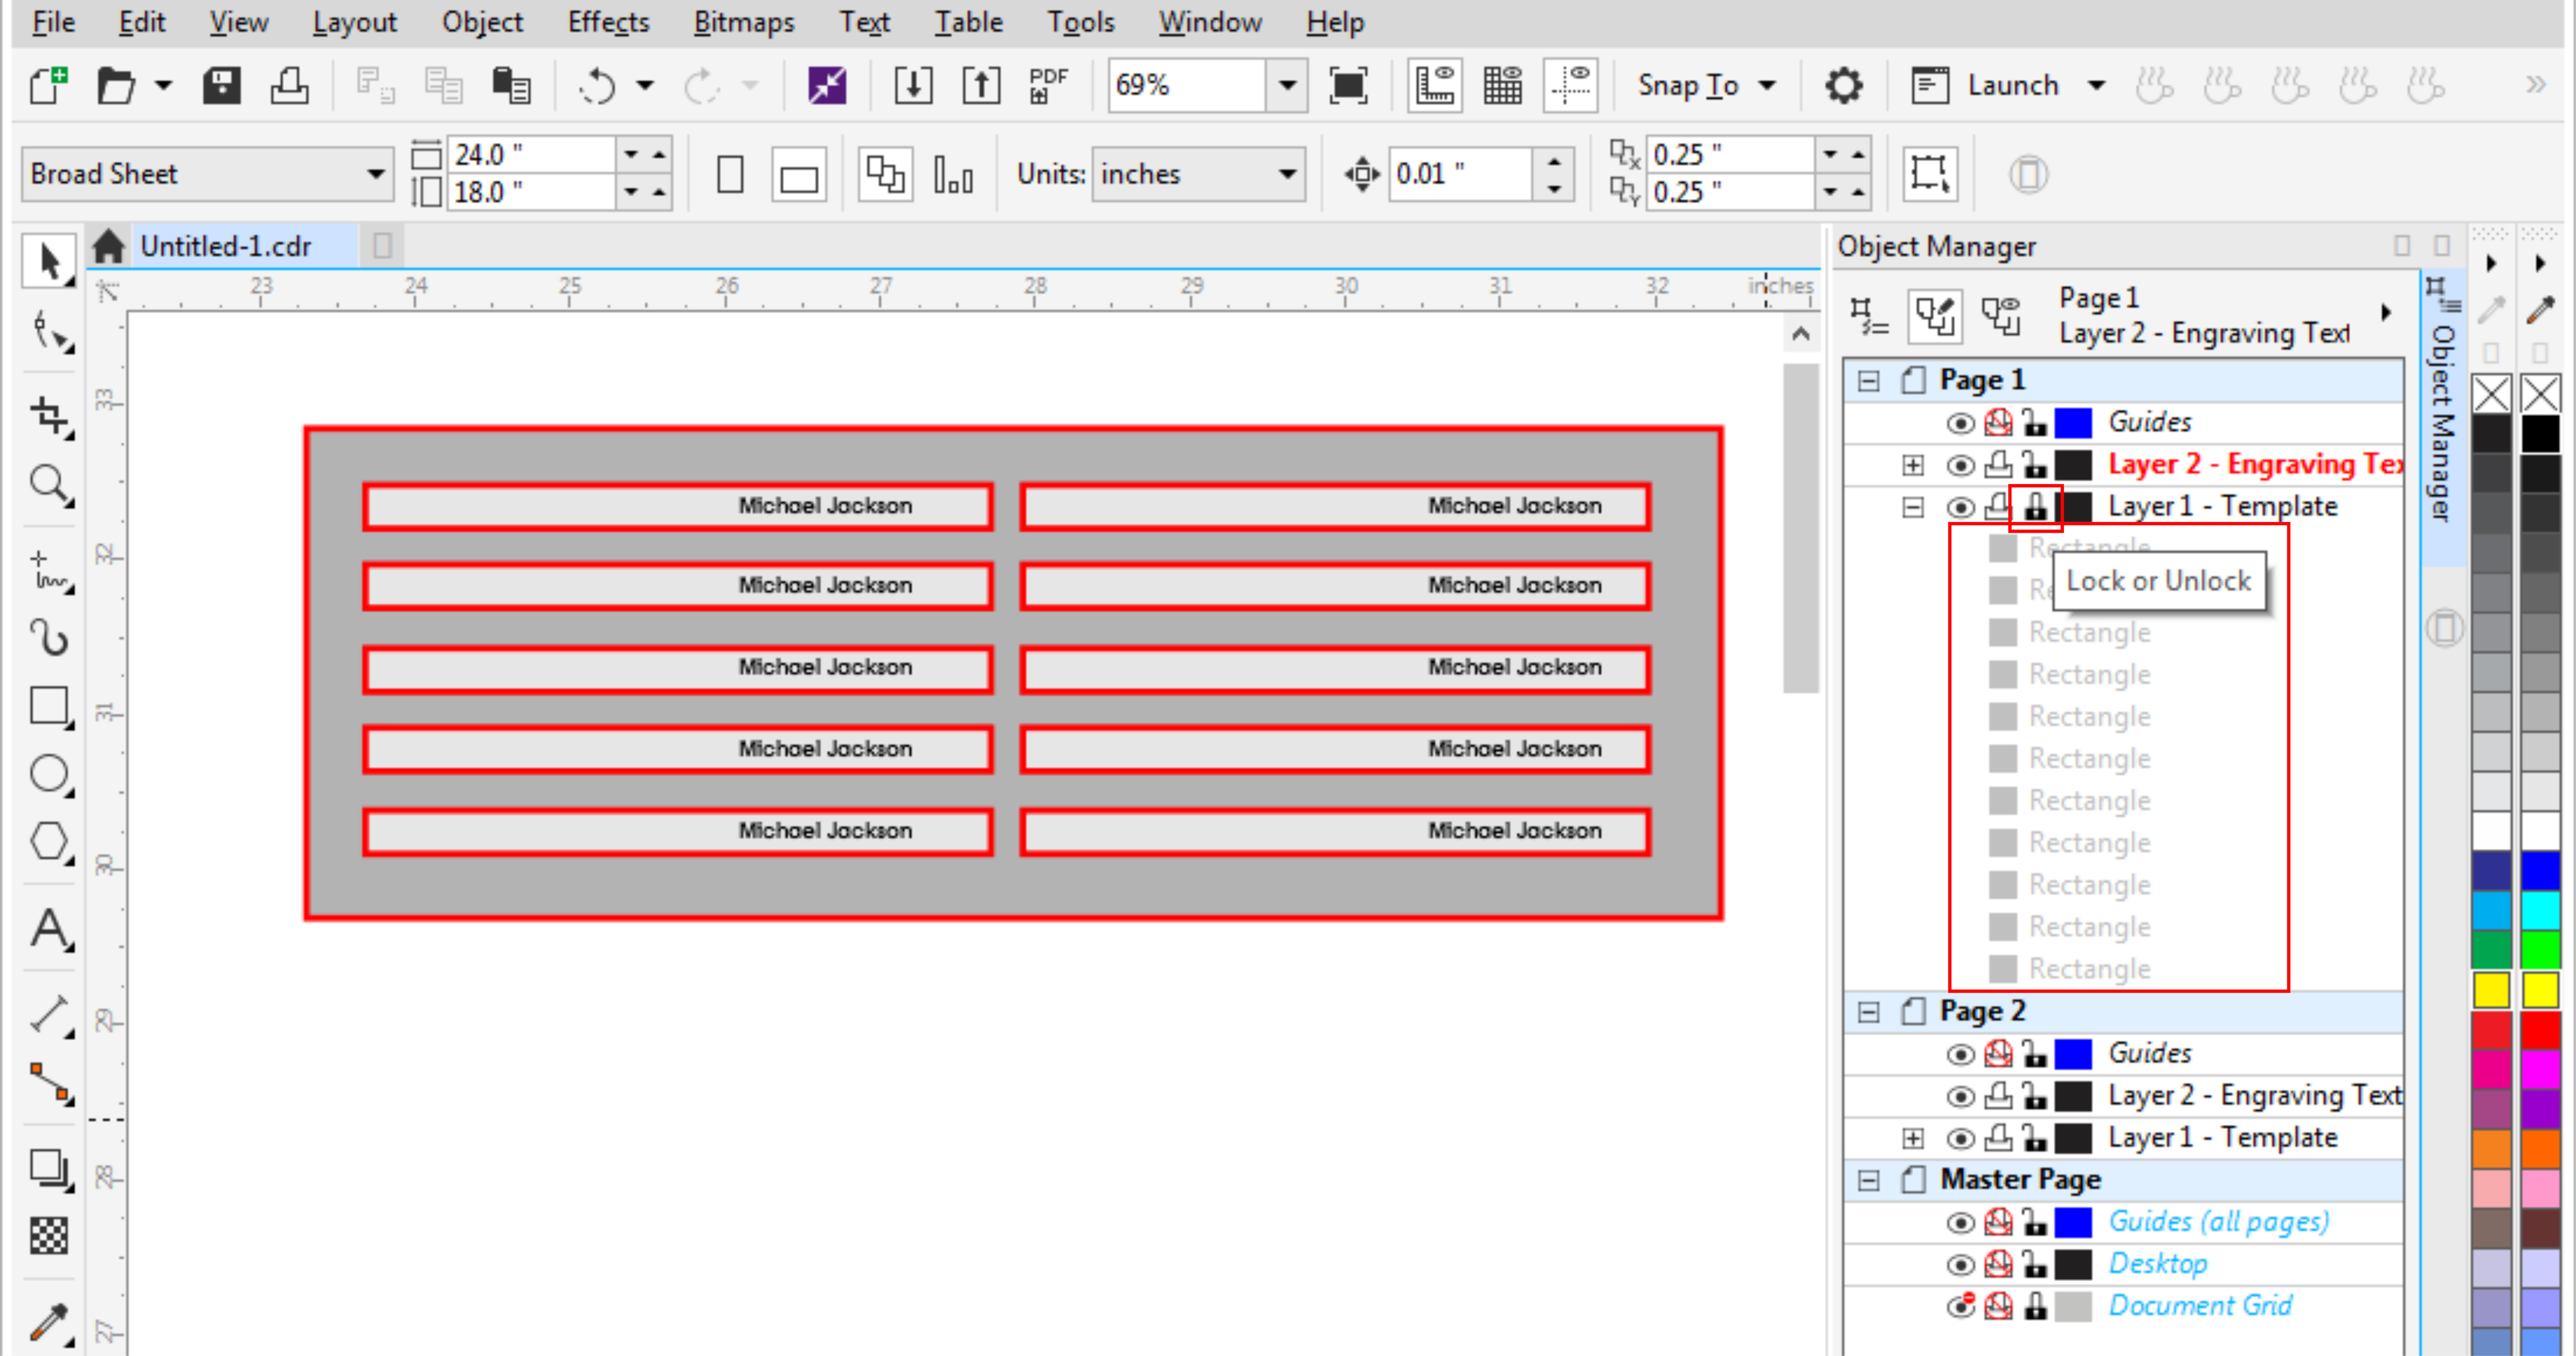
Lock your vector cut lines to ensure your template does not change
Having the fixture really helps to increase our parts per hour! Making sure the blank part is in the laser is easy and all we have to is let the laser do the hard work and we can keep swapping out the blanks and changing text & graphics. Hang on to those valuable fixtures. They can be kept for years and are ready to use at a moments notice.
Creating the template and fixture and finding out that adjustments need to be made and starting over from near scratch can be frustrating. In the end, when you have that fixture already made and the template waiting for new text, it will be worth it for future orders.

Michael Jackson's newly engraved pen!
